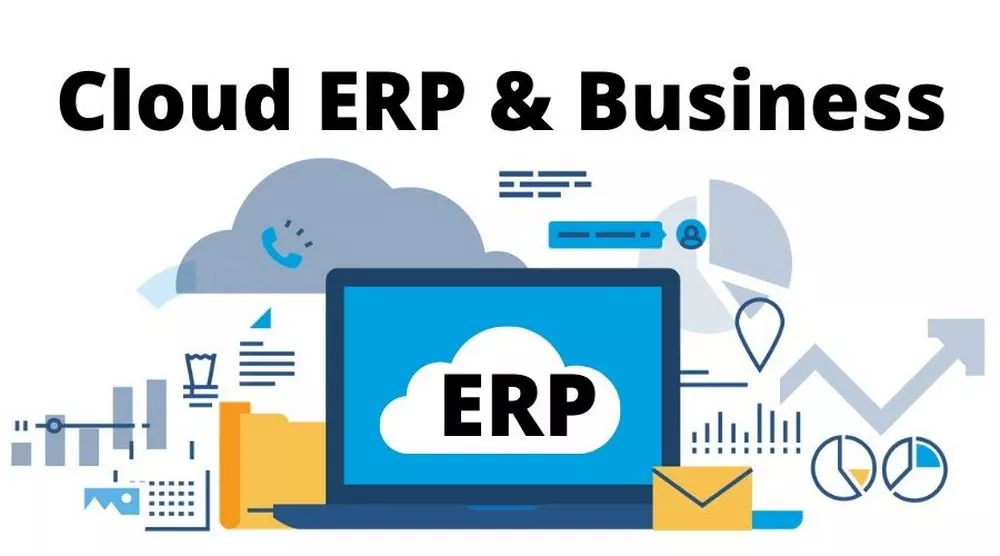
Search by category:

The cloud is no longer a new technology, and its adoption in the business world is growing at a rapid pace. Here are five reasons why your business should switch to a cloud-based ERP system.

Are you looking for a software blog that will keep you up to date on the latest in the software industry? activatemcafee focus on providing information that is both informative and engaging, making our blog the perfect place to learn about the latest software developments.

Lower costs

One of the biggest advantages of using a cloud-based ERP system is that it can save your business money. With a cloud-based system, you don’t need to invest in expensive hardware or software, and you can pay for only the resources you use.

Increased flexibility

Another advantage of using a cloud-based ERP system is that it offers increased flexibility. With a cloud-based system, you can access your data and applications from anywhere, at any time. This means that you can work from home, on the road, or even from a different country.

Improved scalability

A cloud-based ERP system can also help your business to scale up or down as needed. With a cloud-based system, you can easily add or remove users, and you can increase or decrease the amount of storage and computing power you use.

Enhanced security

When it comes to security, a cloud-based ERP system can offer enhanced security. With a cloud-based system, your data is stored in a secure data center, and it is backed up regularly.

Better collaboration

A cloud-based ERP system can also help to improve collaboration within your organization. With a cloud-based system, you can share data and applications with employees, partners, and customers. This can help to improve communication and collaboration.

Crocheting amigurumi is a great way to show your creative side and make unique gifts for your friends and family. Amigurumi is a Japanese word that refers to the art of crocheting small, stuffed animals and dolls. These cute little creatures are usually made with brightly colored yarn and are often given as presents to children.

If you want to find out more latest news, knowledge or collection of articles and see our other top picks for the best sites, Tweetalibrarian is site for you.

If you’e new to crocheting, amigurumi can seem like a daunting task. But don’t worry! With a little practice, you’ll be churning out these little guys in no time. In this blog post, we’ll show you how to crochet amigurumi, step-by-step.

Before we get started, let’s go over a few things you’ll need to know. First, you’ll need to be familiar with the basic crochet stitches: chain stitch (ch), slip stitch (sl st), single crochet (sc), and double crochet (dc). If you need a refresher, check out our blog post on How to Crochet for Beginners.

Next, you’ll need to choose the right type of yarn and crochet hook for your project. For amigurumi, it’s best to use a type of yarn that is smooth and doesn’t split easily. This will make it easier to work with and will help your finished product look nicer. As for the crochet hook, you’ll want to use a smaller size than what is recommended on the yarn label. This will create tighter stitches, which will help prevent the stuffing from showing through.

Now that you have all the supplies you need, let’s get started!

Step 1: Start by making a slip knot and crocheting a foundation chain. For amigurumi, you’ll usually want to start with a foundation chain of 6 stitches.

Step 2: Next, single crochet in each stitch of the foundation chain. When you reach the end of the row, turn your work so that you can single crochet back in the other direction.

Step 3: Continue single crocheting back and forth until you have a flat, rectangular piece of fabric. The number of rows you need to crochet will depend on the size of your project.

Step 4: Once you have a flat piece of fabric, you’ll need to start crocheting in the round. To do this, simply join the ends of your rectangular piece together with a slip stitch. Then, continue crocheting around in a spiral.

Step 5: Keep crocheting in the round until your piece is the desired size. To make sure your amigurumi is stuffed evenly, insert a piece of yarn or a marker at the beginning of each row. This will help you keep track of where you are in the round.

Step 6: To close up your amigurumi, you’ll need to decrease the number of stitches you’re crocheting in each round. To do this, crochet 2 stitches together (referred to as a “decrease”). Continue decreases until you have a small opening left.

Step 7: Now it’s time to stuff your amigurumi! Use a small amount of stuffing to fill up the space, being careful not to overstuff it. Once your amigurumi is stuffed to your liking, finish off the opening by slip stitching it closed.

Step 8: Congratulations! You’ve now completed your first amigurumi. To add the finishing touches, you can embroider on a face or add other embellishments. Have fun and be creative!

When it comes to choosing the best settings for your Dji Pocket 2 camera, there are a few things to consider. First, what is the purpose of the footage? Are you shooting for a personal project, or for a client? If you’re shooting for a personal project, you can be a little more creative with your settings. But if you’re shooting for a client, it’s important to make sure the footage is high quality and meets their expectations.

Second, what is the environment like? Is it a bright sunny day, or a dark cloudy day? If you’re shooting in a bright environment, you’ll want to adjust your settings to compensate for the extra light. But if you’re in a dark environment, you’ll want to adjust your settings to make sure the footage is still visible.

Third, what is your subject matter? If you’re shooting a landscape, you’ll want to choose different settings than if you’re shooting a close up of a person. Each subject matter requires different settings to get the best results.

Here are a few general tips to help you choose the best settings for your Dji Pocket 2 camera:

-Shoot in 4K whenever possible. This will give you the highest quality footage.

-If you’re shooting in a dark environment, make sure to increase the ISO. This will help the camera sensor capture more light.

-If you’re shooting in a bright environment, make sure to decrease the ISO. This will help prevent the footage from being overexposed.

-If you’re shooting a close up, make sure to use a shallow depth of field. This will help the subject stand out from the background.

-If you’re shooting a landscape, make sure to use a deep depth of field. This will help keep the entire scene in focus.

-Experiment with different shutter speeds to get different effects. A slower shutter speed will create a blurry effect, while a faster shutter speed will freeze the action.

-Don’t be afraid to try different settings. The best way to learn what works best is to experiment.

following these tips, you should be able to get the best results from your Dji Pocket 2 camera.