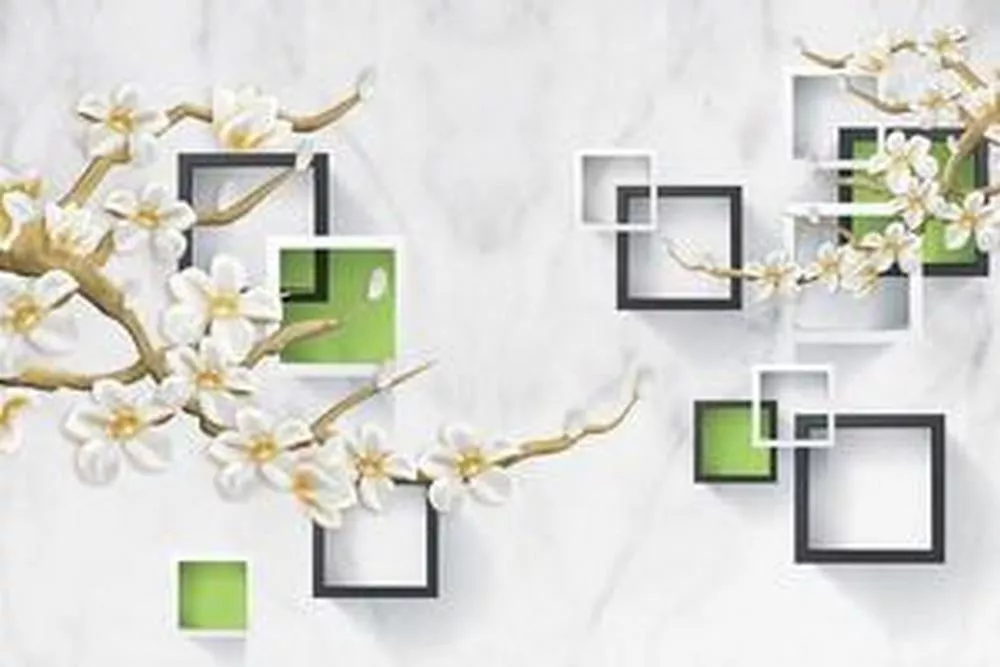
3D Art – Making Your Own Unique Posters
is a great way to add a personal touch to your home decor. Plus, it’s a fun activity that the whole family can enjoy! Here are some tips on how to get started in 3D art.
Start with a basic design. Sketch out a design on paper or use a computer program to create a three-dimensional image. If you’re not sure where to start, try looking for inspiration in nature or online. Once you have a design, you’re ready to start creating your art.
To create a three-dimensional image, you’ll need to add depth to your design. This can be done by using shading and highlights, or by adding elements like trees, buildings, and people.
However, there are a few tips and tricks on art, design or photography. SkullsofHeaven is the one-stop resource for images design, photography news, tips, learn photo techniques and camera buying guides from professional to amateur photographers.
Once you’ve added depth to your image, it’s time to start working on the details. This is where you can really let your creativity shine! Add colors, textures, and patterns to your design to make it your own.
When you’re happy with your design, it’s time to start creating your art. You can use a variety of materials to create your masterpiece, including paint, clay, paper, and even fabric.
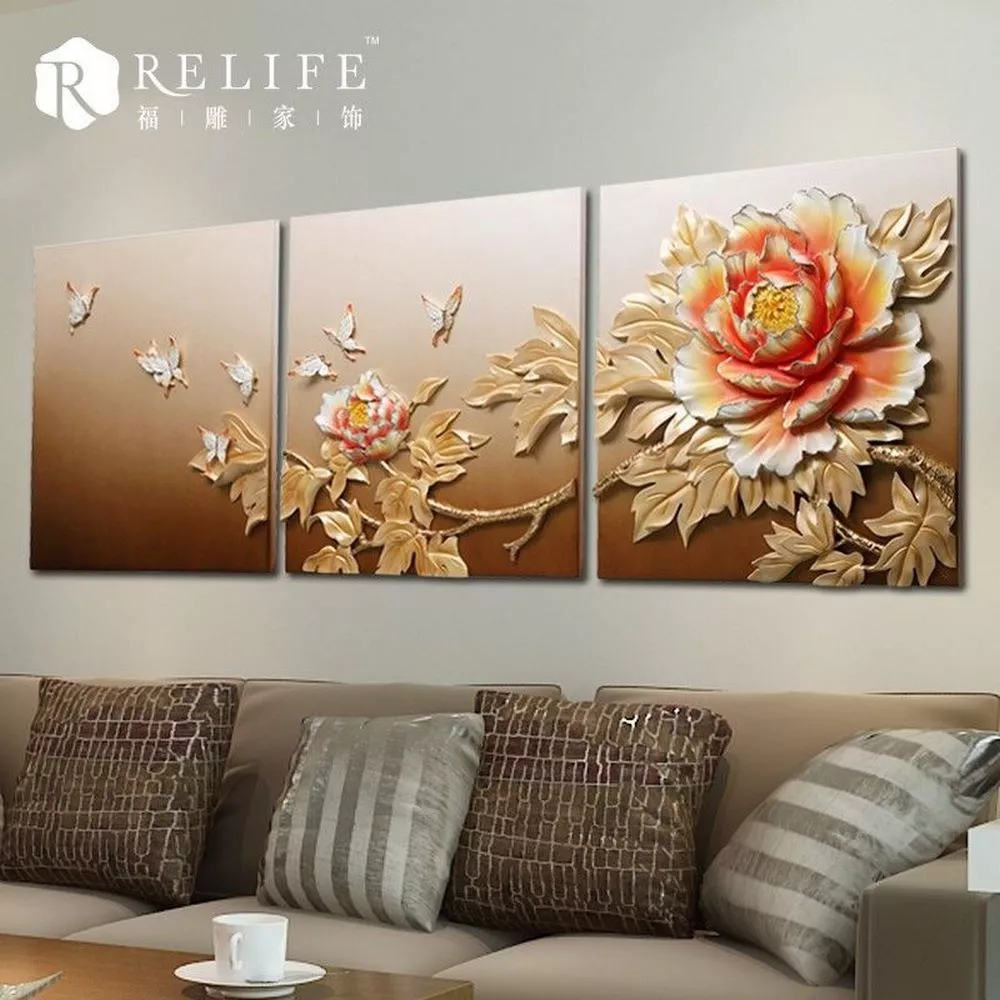
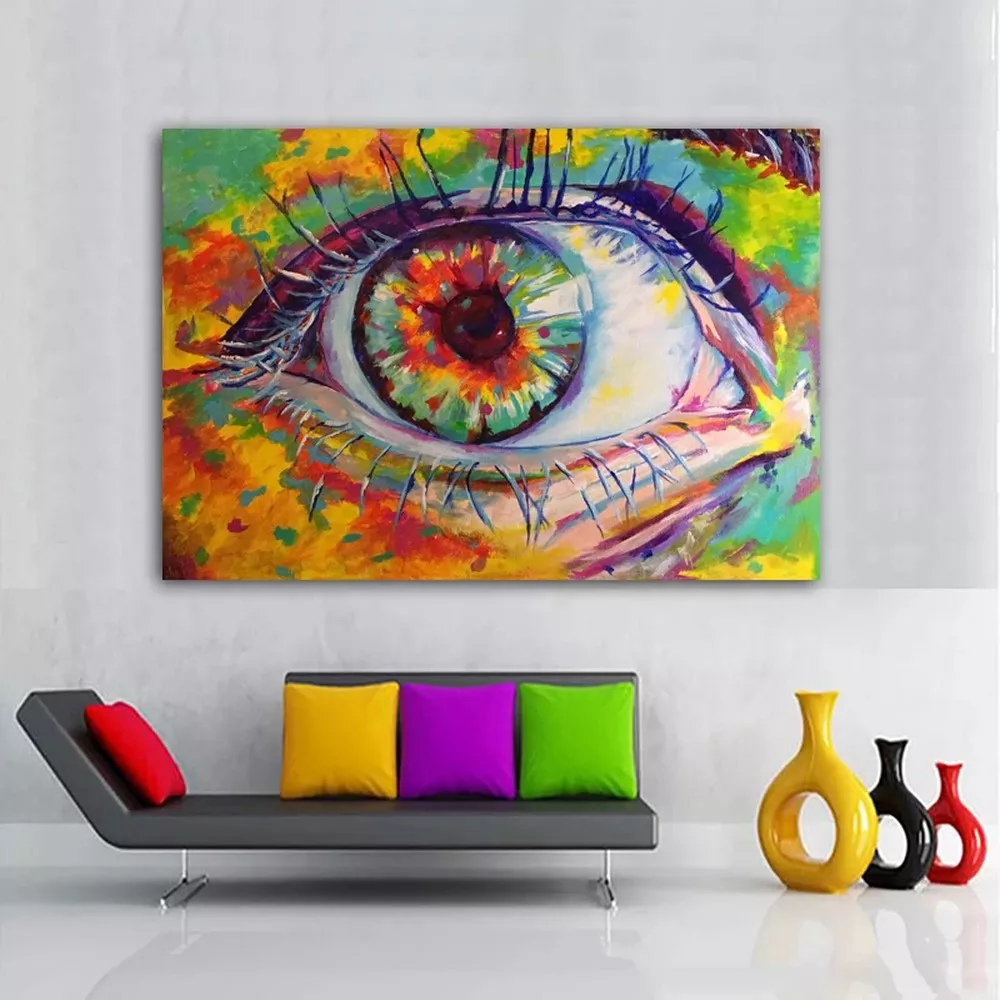
Once you’ve created your art, it’s time to display it! Hang your artwork on the wall, or place it on a shelf or table. You can even frame it to really make it stand out.
3D art is a great way to add personality to your home decor. With a little creativity and effort, you can create unique and beautiful pieces that will be enjoyed by everyone.
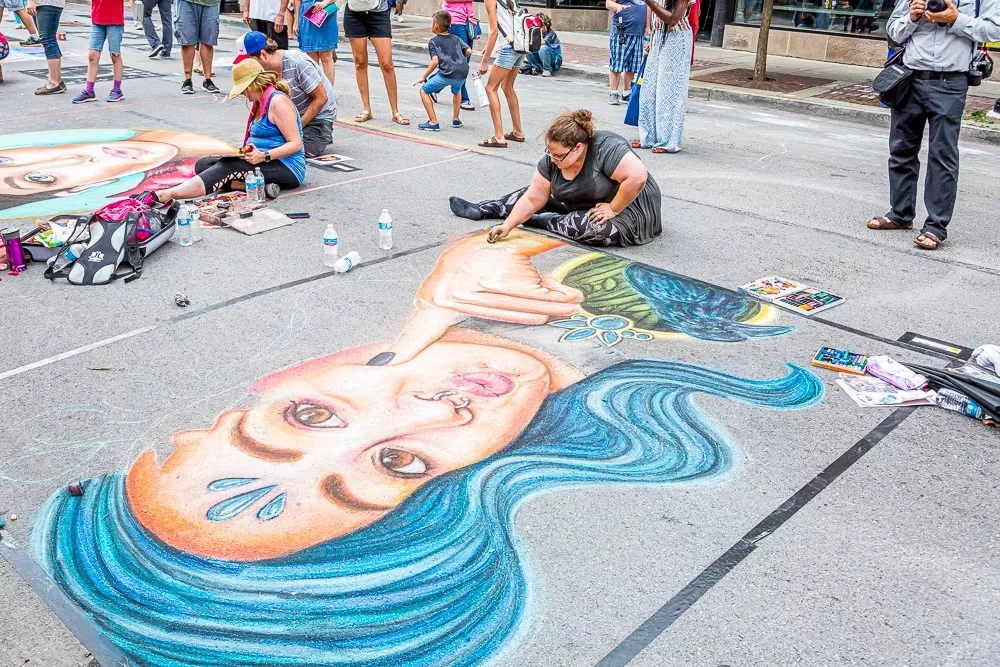
Art is a form of self-expression. It can be used to communicate messages, feelings, and emotions. It can be used to express your unique perspective on the world. It can be used to make a statement, or to simply make something beautiful.
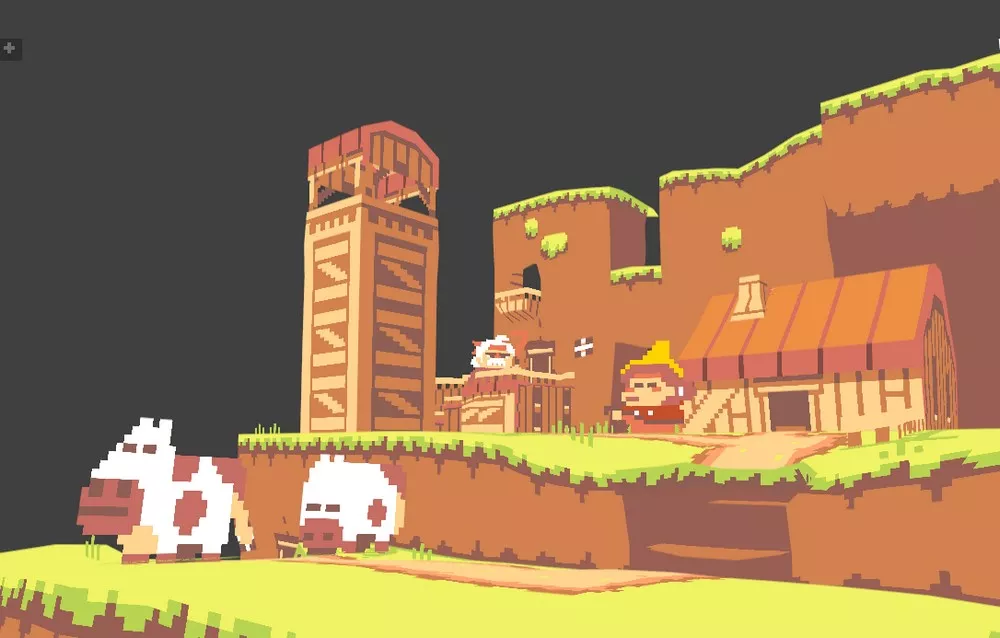
3D art is a type of art that uses three-dimensional objects to create a scene or composition. It can be used to create paintings, sculptures, installations, and more.
3D art is a great way to add depth and dimension to your art. It can also be a lot of fun to create. If you’re looking for a new art project, why not try making your own 3D art?
Here are some tips for creating 3D art:
Choose your materials. You can use almost anything to create 3D art. Some common materials include cardboard, paper, foam, wood, and plastic.
Decide on a design. You can create any type of design you want. You can use geometric shapes, organic shapes, or a combination of both.
Create your scene. Once you have your materials and design, it’s time to start creating your scene. You can build your scene from scratch, or you can use a pre-made scene as a starting point.
Add details. To make your scene more realistic, add some details. You can use paint, markers, glitter, and more.
Display your art. When you’re finished, you can display your 3D art in a frame, on a shelf, or in a shadow box.
Creating 3D art is a fun and creative way to express yourself. With a little imagination, you can create anything you can dream up.